

Last updated October 17, 2026
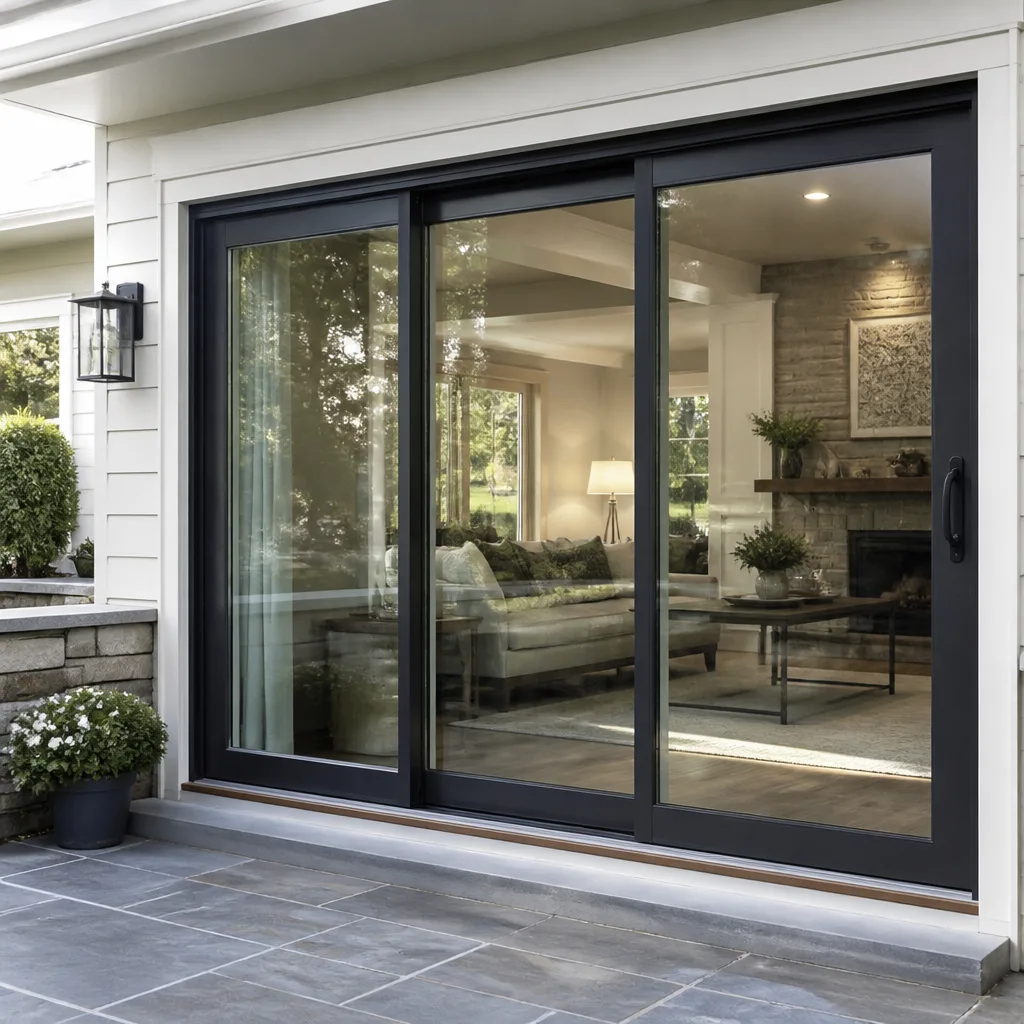 Sliding glass doors
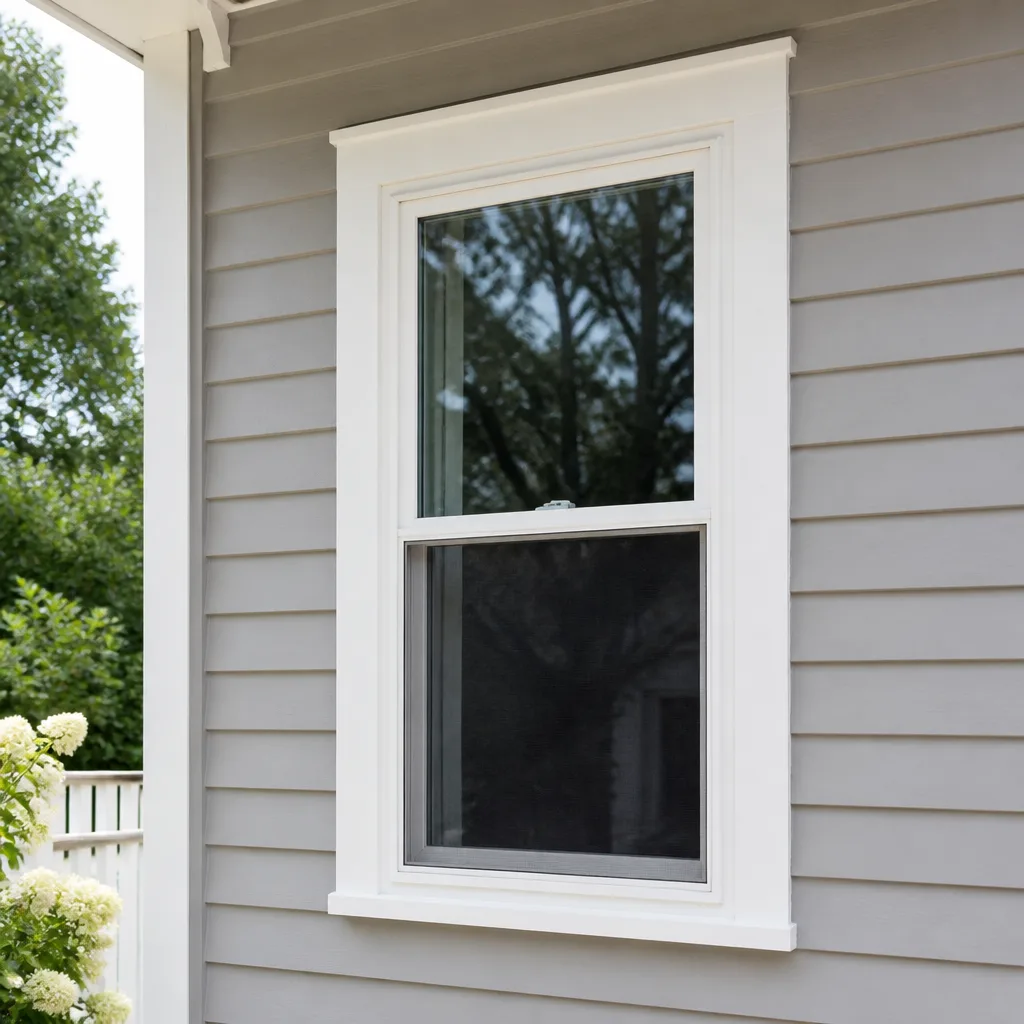 Single hung
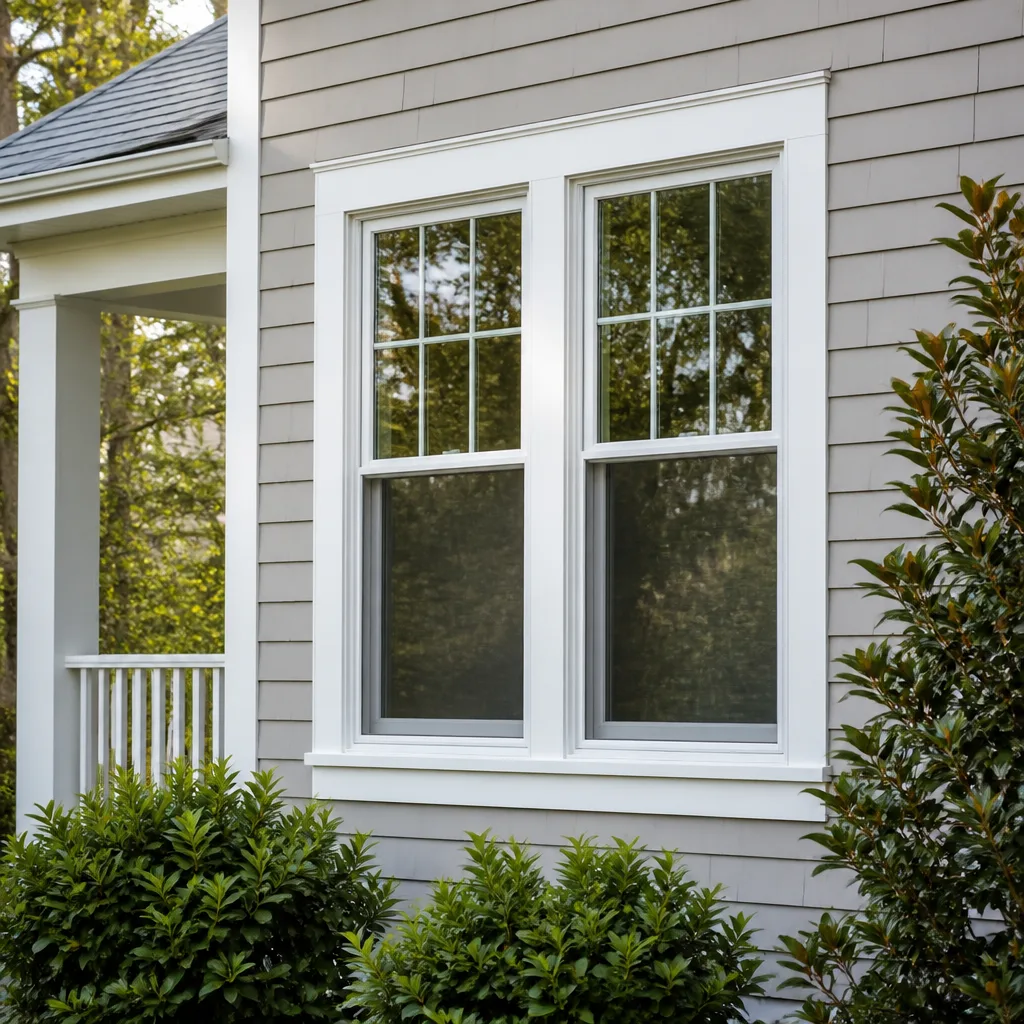 Double hung
 Horizontal roller
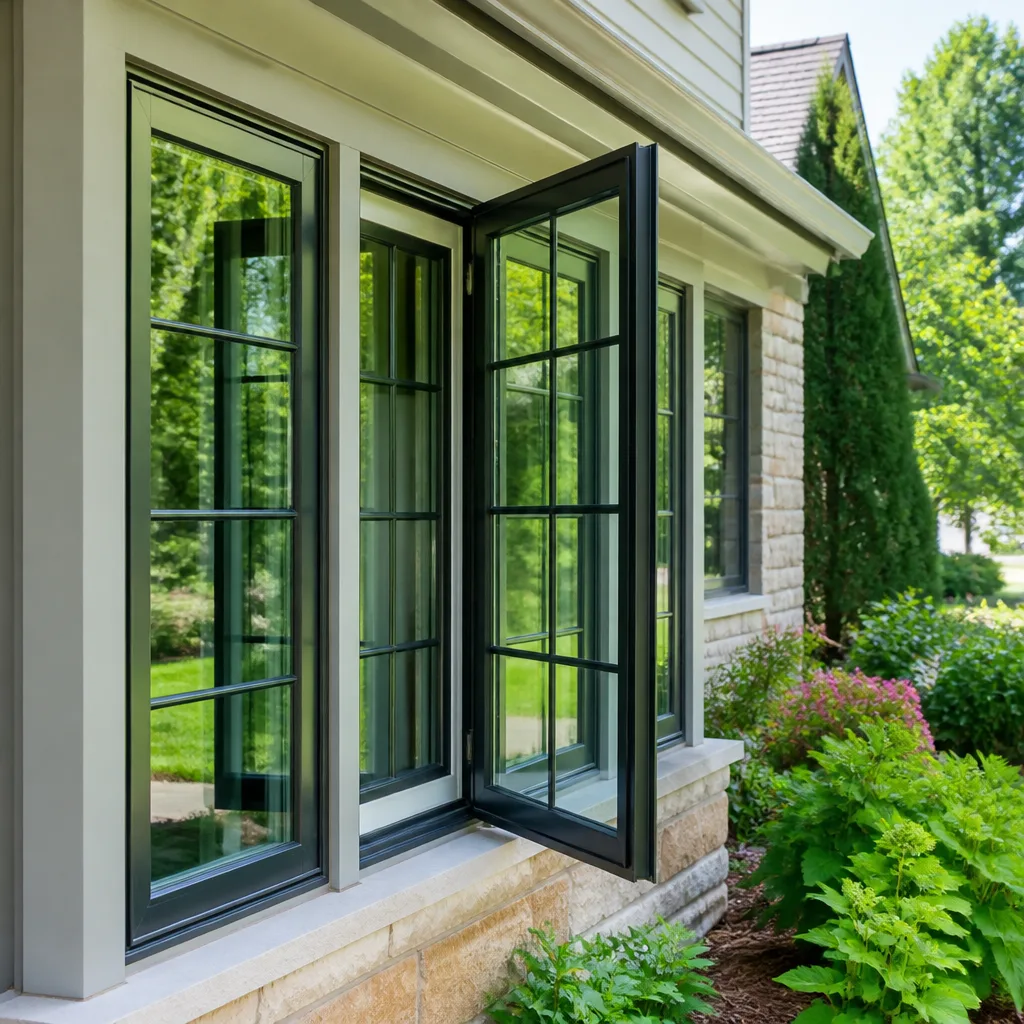 Casement
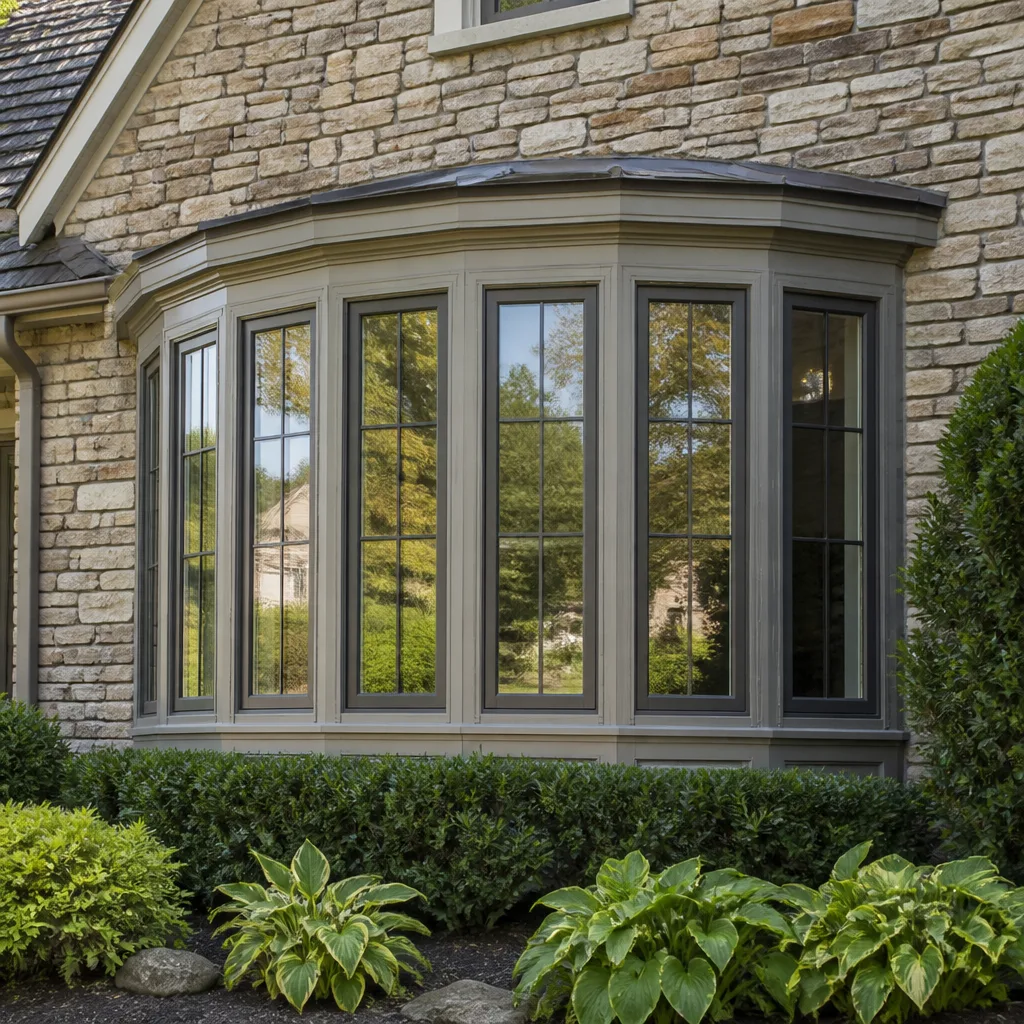 Bay & bow
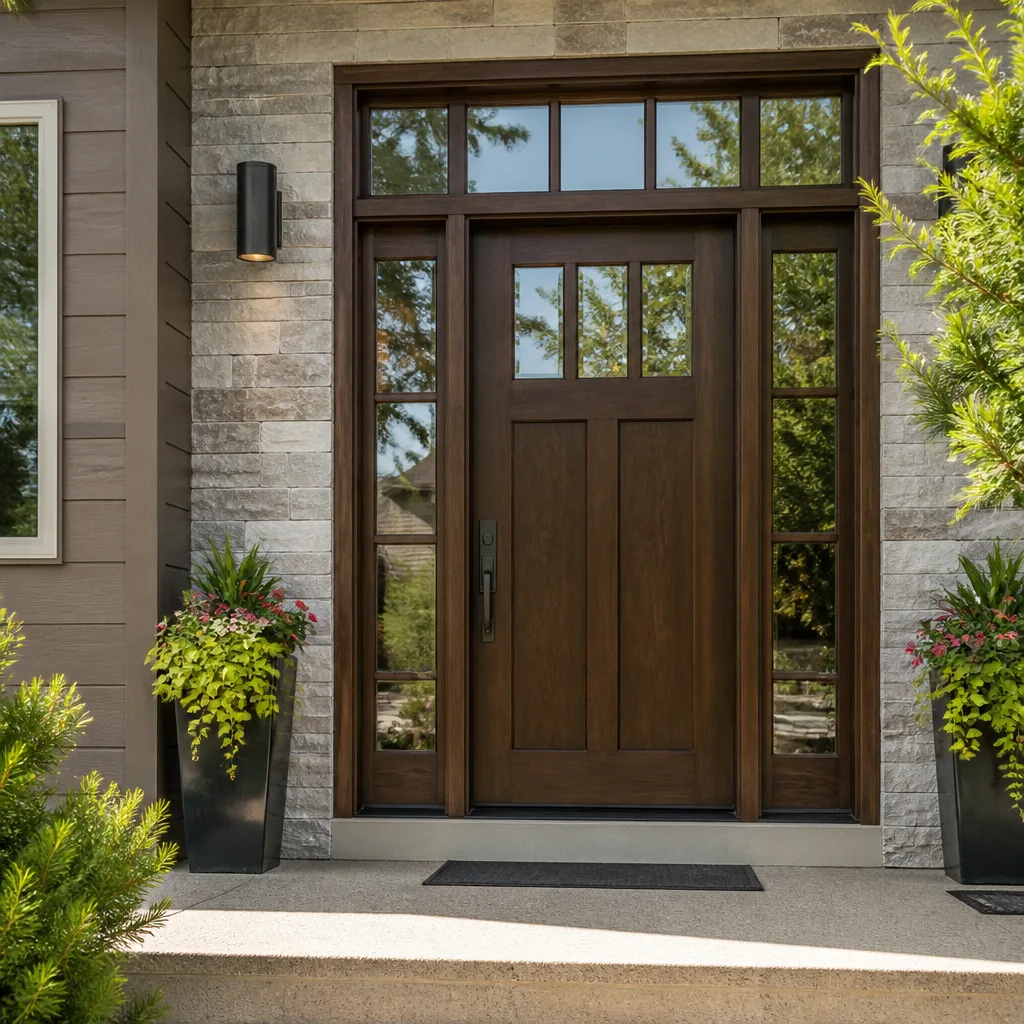 Entry doors
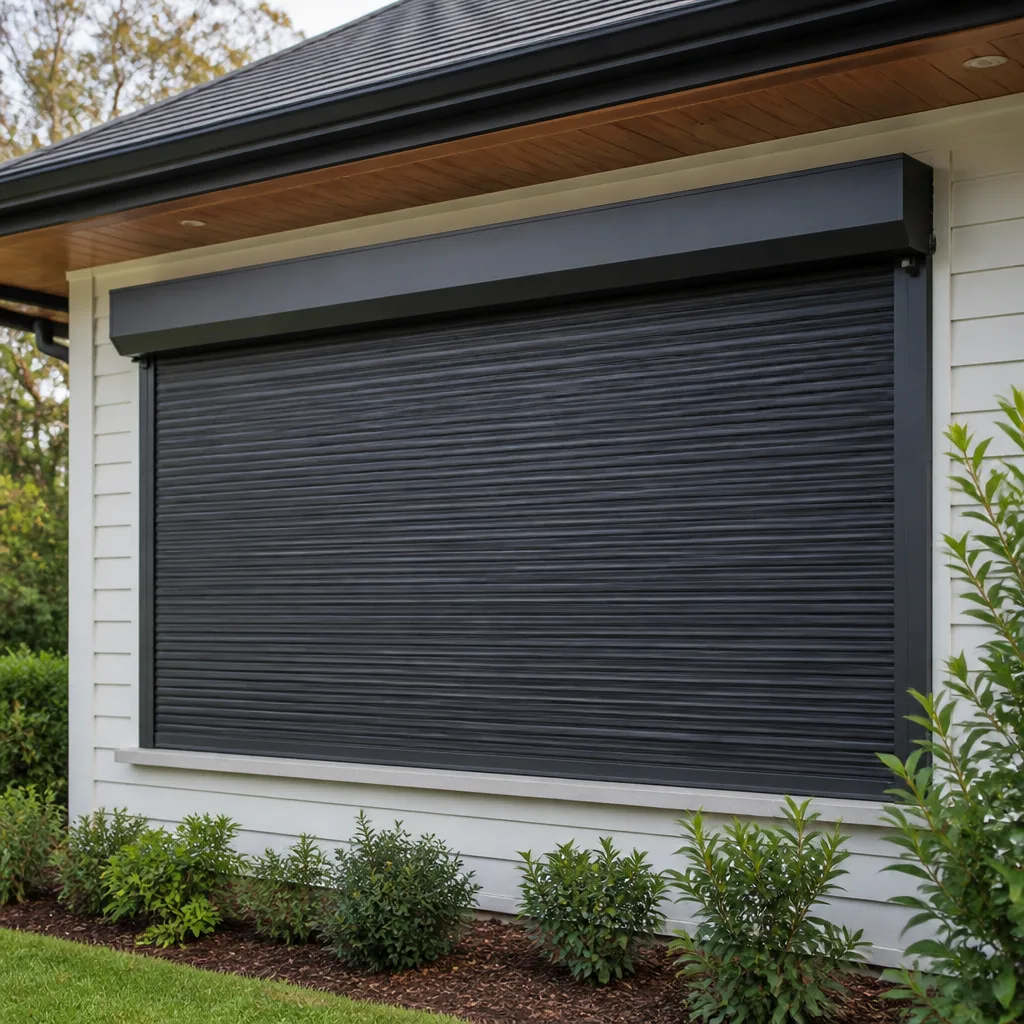
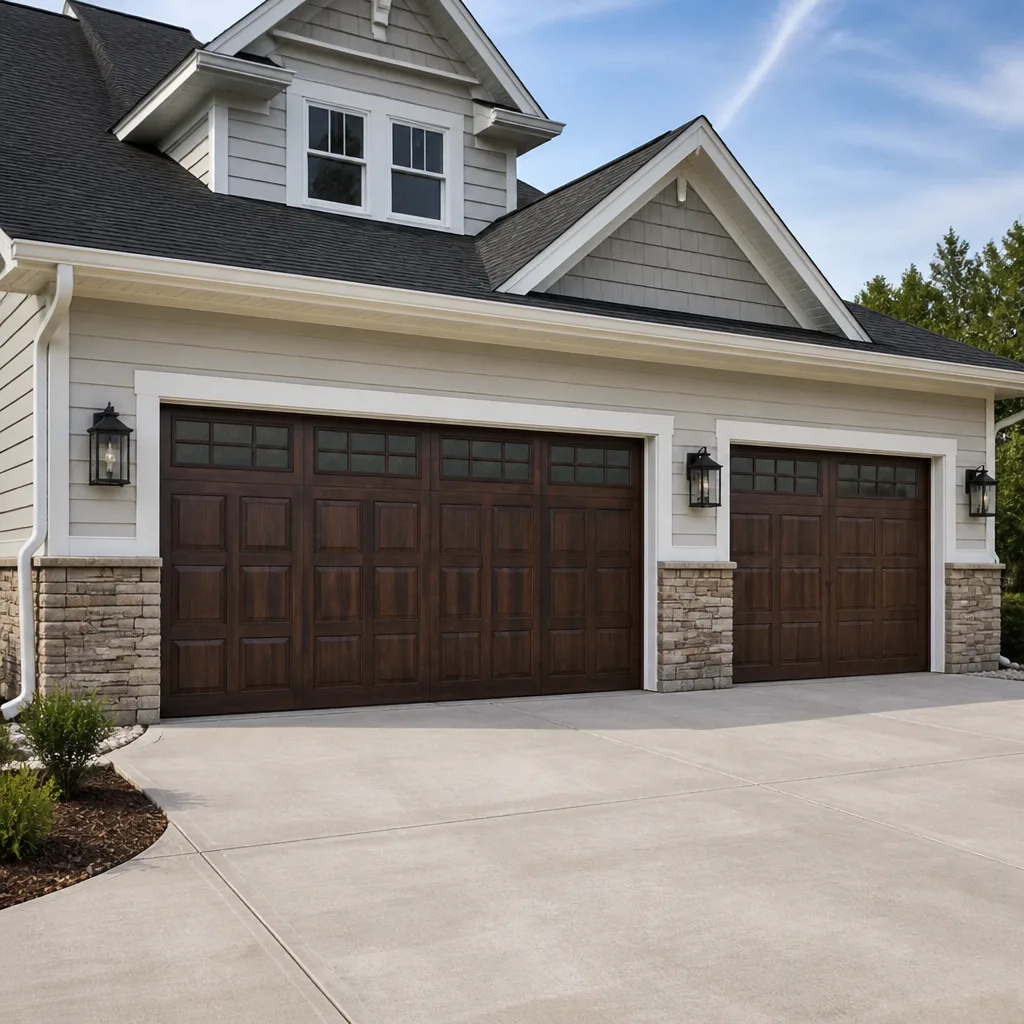 Impact garage doors
 PGT
PGT CGI
CGIFree in-home measure and quote - PGT, CGI and CWS impact lines compared on your actual openings, style by style
Get your free estimateDIY vs Professional Windows & Doors: The San Francisco Homeowner’s Decision Guide
Most homeowners assume the DIY-versus-professional question comes down to skill and savings. In San Francisco, that assumption is expensive. A homeowner can install a replacement window perfectly square, perfectly flashed, perfectly weather-sealed, and still fail a home sale inspection years later. The reason is rarely the installation. It’s the paperwork. San Francisco’s building code, California’s Title 24 energy standards, and the city’s unique housing stock combine to make window and door work a legal liability question as much as a carpentry question. This guide walks through the real decision points, including the ones most online advice and more guides & resources never mention.
Quick Answer
For most San Francisco homeowners, professional installation is the correct choice for window replacement, exterior door replacement, and any work touching egress, energy code, or building permits. DIY makes sense only for a narrow set of tasks: interior trim, weatherstripping, hardware, and minor sill repairs. The deciding factor is not whether you can do the work. It’s whether the work will pass the legal and disclosure tests that follow you at resale.
Styles & brands we work with
Table of Contents
- The Legal Line: What San Francisco Actually Allows You to DIY
- Title 24 Compliance: The DIY Barrier Nobody Mentions
- Egress Windows: The Check Most DIY Guides Skip
- Where DIY Makes Clear Sense in San Francisco
- The Hidden Costs of DIY Window and Door Work
- How to Evaluate a Contractor Quote Against a DIY Estimate
- San Francisco-Specific Factors That Change the Math
- Common Mistakes to Avoid
The Legal Line: What San Francisco Actually Allows You to DIY
California law draws a line between work that requires a licensed contractor and work a homeowner can legally perform on their own residence. The line is not where most people think it is. A homeowner can perform many types of work on their own property without a contractor’s license, provided they do the work themselves and the total project value, including materials and labor, stays under $500 for work requiring a building permit. Window and door replacement in San Francisco almost always exceeds that threshold when you count the window unit, flashing, trim, and disposal. The $500 limit is unreasonably low for any window job. This means that most window and door replacement projects that require a permit are, by default, outside the legal DIY boundary.
The more practical question is which tasks require a permit at all. In San Francisco, the following window and door tasks require a building permit:
- Replacing a window or door when the rough opening changes size
- Installing a new window or door where none existed before
- Replacing windows in buildings subject to the city’s historic preservation rules
- Any work on multi-unit residential buildings, even if you own the building and live in one unit
- Replacing windows or doors on buildings in designated historic districts
Here is the nuance most guides miss: a like-for-like window replacement, meaning same rough opening, same window type, same operation, often does not require a building permit in San Francisco. This is true for single-family homes and some small multi-unit buildings. But it only applies when the replacement is genuinely like-for-like. The moment you change a double-hung for a casement, or a fixed window for an operable one, or widen the opening by two inches, the permit requirement kicks in. That is the moment the $500 homeowner-work limit becomes the legal wall.
Then there is the disclosure issue. California law requires sellers to disclose any unpermitted work to buyers. If you install windows without a permit, and a permit was required, and you do not disclose it, you have created a material omission. The buyer’s lender may flag it. The buyer’s inspector may flag it. And retroactive permits for window work in older San Francisco homes can require opening walls to verify flashing, waterproofing, and header conditions. That is a level of invasive work that erases any DIY savings, and it happens at the worst possible time: when you are trying to close a sale.
Our recommendation for San Francisco homeowners: if the project touches the building envelope, the rough opening, or the method of operation, treat it as a permitted, professional job. Keith Yamada, owner at Lightwell Windows & Doors, puts it this way: the cost of a permit is always cheaper than the cost of explaining an unpermitted install to a buyer’s lender.
Title 24 Compliance: The DIY Barrier Nobody Mentions
Title 24 is California’s energy code. It sets performance standards for replacement windows, including maximum U-factor and minimum SHGC, which stands for Solar Heat Gain Coefficient. San Francisco sits in Climate Zone 3, a marine-influenced zone with cool summers, mild winters, and frequent fog. The requirements for Climate Zone 3 are specific, and a window that complies in Sacramento or Fresno may not comply in San Francisco.
For Climate Zone 3, replacement windows must meet:
- Maximum U-factor of 0.30: this measures how well the window resists heat loss. A lower number is better. San Francisco’s mild winters mean the U-factor requirement is less aggressive than in colder inland zones, but the 0.30 threshold is still a hard legal requirement for most residential replacements.
- Minimum SHGC of 0.25 or maximum SHGC depending on orientation: this measures how much solar heat the window lets through. San Francisco’s cool climate means windows on south-facing walls can benefit from higher SHGC to capture passive solar heat. Windows on west-facing walls may need lower SHGC to prevent afternoon overheating on those rare sunny days.
The DIY problem with Title 24 is not that the requirements are secret. They are public. The problem is that most big-box and online window retailers do not prominently display Title 24 compliance for each window model. A window with a U-factor of 0.32 will pass energy auditors in many states. In California, it will fail Title 24 verification. When it fails, the permit cannot be signed off. And when a permit is not signed off, the work is functionally unpermitted for resale purposes.
Before purchasing any replacement window for a San Francisco home, look up the specific product’s NFRC label. The National Fenestration Rating Council label lists the exact U-factor and SHGC for that glass package and frame material. Compare those numbers against Climate Zone 3 requirements. If the retailer cannot provide an NFRC label or a Title 24 compliance certificate, do not buy the window. This single check takes five minutes and prevents the most common compliance failure in San Francisco DIY window projects.
Fiberglass and vinyl frames from manufacturers like CGI, CWS, and ES Windows are generally designed with California compliance in mind. Many of these products ship with documentation that makes the Title 24 verification process straightforward. When we install windows by these manufacturers, we provide the compliance documentation as part of the project file. A DIY installer has to hunt for that same documentation, and not every retailer makes it easy.
Egress Windows: The Check Most DIY Guides Skip
California building code requires that every sleeping room have at least one operable window that meets egress requirements. Egress means escape. The window must be large enough, low enough, and open enough for a person to climb through in an emergency. The specific requirements for egress windows are:
- Minimum clear opening width of 20 inches
- Minimum clear opening height of 24 inches
- Minimum clear opening area of 5.7 square feet, except for ground-floor windows which may be 5.0 square feet
- Maximum sill height of 44 inches above the finished floor
The egress trap for DIY window replacement is this: a like-for-like replacement that changes the window’s operation type can create a code violation without changing the rough opening. For example, a San Francisco bedroom with an old double-hung window that meets egress because both sashes open wide. Homeowner replaces it with a casement window because casements seal tighter against fog-driven moisture. Casement windows often have smaller clear openings than double-hungs of the same rough opening size. The new casement may not meet the 5.7 square foot requirement. The window is installed, the trim is finished, and the violation is invisible until an inspector or a sharp real estate agent checks it.
This is the kind of failure that shows up at sale. A buyer doing due diligence on an older San Francisco home may ask whether the bedroom windows meet egress. If the answer is no, the fix is not a minor adjustment. It means removing the window, possibly enlarging the rough opening, pulling a permit, and reinstalling a compliant unit. All of that work happens on the seller’s timeline and the seller’s budget. The original DIY savings, plus interest.
Before installing any window in a sleeping room, measure the clear opening of the replacement unit as installed, not as listed. The clear opening is the actual space a body can pass through when the window is open to its normal limit. Window spec sheets list the rough opening and the unit dimensions. They do not always list clear opening. That number is the one that matters for egress compliance.
Where DIY Makes Clear Sense in San Francisco
Some window and door work is genuinely well-suited to DIY. These tasks stay inside the home, do not touch the building envelope, do not trigger permit requirements, and have a low failure cost. San Francisco’s humidity and marine air make material choice more important than technique for several of these jobs. Here is where DIY makes sense:
- Weatherstripping on non-egress doors: San Francisco’s damp, foggy air finds every gap. Replacing worn weatherstripping on an interior door, a closet door, or a non-egress exterior door is a one-hour job. Use silicone or EPDM rubber weatherstripping rather than felt, which absorbs moisture and fails quickly in San Francisco’s marine climate. A door that seals correctly also keeps the heating bill down during the city’s surprisingly chilly summer nights.
- Hardware replacement: door handles, hinges, locksets, and window cranks are straightforward swaps. Use stainless steel or solid brass hardware. San Francisco’s coastal air corrodes cheap plated steel within a year. PGT and ECO Window Systems windows often use corrosion-resistant hardware rated for coastal exposure, which is worth matching if you are replacing hardware on one of their units.
- Interior trim and casing: replacing interior trim around a window or door changes the look of a room without touching the waterproofing layer. Use primed wood or MDF trim. Avoid unprimed wood, which will absorb moisture from San Francisco’s fog and swell. Paint both sides of the trim before installation, including the cut ends, to seal it against moisture.
- Minor sill repairs on interior side: a cracked interior window stool or apron can be replaced with basic carpentry. This work stays inside the thermal envelope and carries no weatherproofing risk. Inspect the exterior sill while you are at it. If the exterior sill shows rot or water staining, that is a different job and a professional one.
These four categories represent most of the genuinely safe DIY window and door work in San Francisco. They keep you away from the flashing, the waterproofing membrane, the structural opening, and the permit counter. They also keep you away from the risk of creating a disclosure problem that surfaces years after the project is done.
The Hidden Costs of DIY Window and Door Work
The standard DIY comparison goes: materials for the window, my labor is free, therefore I save the labor cost. That comparison misses several costs that only become visible once the project starts. In San Francisco, several of these costs are higher than they are in other parts of the country.
First, tool rental. A proper window replacement requires a reciprocating saw, a level, a drill, a caulking gun, a pry bar, and possibly a hammer drill if the home has stucco or masonry exterior. Homeowners who do not own these tools will spend $75 to $200 on rentals or purchases. If the home has original wood windows with lead paint, which is common in pre-1978 San Francisco housing, the cost jumps dramatically. Lead-safe work practices require HEPA vacuums, plastic containment, and specialized cleanup. Failing to follow them is not just a health risk; it is a violation of EPA Renovation, Repair, and Painting rules.
Second, disposal. San Francisco’s Recology system charges for construction debris. A single replaced window can weigh 40 to 80 pounds. A full house of windows generates hundreds of pounds of debris that cannot go in the regular trash. DIYers pay for a debris box or multiple trips to the transfer station. Professional installers include disposal in the project price and have relationships with transfer facilities that keep the per-pound cost low.
Third, permit self-filing time. If the project requires a permit, meaning any rough opening change or non-like-for-like replacement, San Francisco’s permit process takes time. The Department of Building Inspection requires drawings for some window work, especially in buildings over a certain age or in historic districts. The time spent learning the process, preparing drawings, submitting, and following up is real. Professionals do this weekly. A homeowner does it once and spends days learning.
Fourth, one-time-use flashing materials. Proper window flashing in San Francisco requires butyl tape, metal flashing at the head, and sealant at the jambs and sill. These materials come in rolls or tubes sized for professionals. A DIYer buys the whole roll, uses a fraction, and the rest cures or dries out in the garage. The effective cost per window is higher for a DIYer than for an installer who spreads the cost across months of jobs.
These hidden costs routinely shrink a DIY savings estimate by $300 to $600 per window. On a single-window replacement, the savings may drop to near zero. On a whole-house project, the savings are real but the risk exposure grows with the project size. This is the math most guides do not show.
Get a clear sense of what a professional window replacement in San Francisco actually costs before committing to a DIY path. The estimate is free, and the comparison will be more honest than any online calculator.
How to Evaluate a Contractor Quote Against a DIY Estimate
Once the hidden costs are on the table, the contractor-versus-DIY comparison becomes a question of what the professional price actually includes. A useful contractor quote specifies more than the window unit price. Here is what a serious San Francisco window installation quote should contain, line by line:
- Window or door unit cost: the make, model, glass package, and frame material. A quote that says “window” without specifying the brand and glass package is not a quote; it is an opening bid.
- Labor for removal and installation: including protecting floors and furniture, removing the old unit, preparing the opening, and setting the new unit.
- Flashing and waterproofing materials: butyl tape, metal head flashing, sill pan, and sealant. These should be named, not lumped as “miscellaneous.”
- Trim and finish work: whether the quote includes interior trim replacement, exterior trim patching, and paint or stain match at the edges.
- Permit fees and processing: if the project requires a permit, the quote should state who pulls it and who pays for it. Lightwell includes permit fees as a visible line item, never buried.
- Disposal: haul-away of the old window, sash weights, and debris, with the transfer station fees included.
- Warranty: the window manufacturer’s warranty plus the installer’s workmanship warranty period.
A DIY materials estimate should mirror the same line items. If the DIY estimate only includes the window unit price, it is incomplete. The flashing materials, tools, disposal, and permit time are real costs. A fair comparison puts those costs on both sides of the table.
For door projects, the quote should also specify threshold installation, weatherstripping, and any threshold height adjustment needed for San Francisco’s older homes, where floors have settled over a century of use. A door that swings clean today may drag next winter when the humidity shifts. Experienced installers account for this. DIY installers discover it after the fact.
If you are considering a professional installation, window installation in San Francisco through Lightwell includes a written price before any work starts. That means the line items are visible before you commit. If a contractor cannot give you a written line-item price before starting, that is a signal to keep looking.
San Francisco-Specific Factors That Change the Math
San Francisco is not a generic housing market. The city’s building stock, climate, and regulatory environment change the DIY-versus-professional calculation in ways that do not apply in newer, drier, or less regulated cities.
First, the housing age. A large share of San Francisco homes were built before 1940. Many have original wood windows, lead paint, and rough openings that are no longer square. Replacing a window in a 1920s Edwardian is not a like-for-like swap. The rough opening may have settled out of square by half an inch. The old window may be serving a structural role in a way modern units do not. The flashing details may be tied into wall assemblies that predate modern waterproofing standards. This is skilled work, and it is the highest-risk category for a DIY project.
Second, the fog and marine air. San Francisco’s west-side neighborhoods, including the Sunset, the Richmond, and Sea Cliff, sit in the fog belt. Moisture is a constant. Wood window frames in these neighborhoods rot faster than the same frames in Noe Valley or the Mission. Flashing details that work in Oakland or Daly City may fail in the Sunset because the fog sits on the west side for weeks. Professional installers who work in these neighborhoods know which sealants hold up under persistent marine moisture and which fail within two seasons.
Third, the historic preservation overlay. Parts of San Francisco fall under Article 10 or Article 11 of the Planning Code, which imposes review requirements on exterior changes, including windows and doors. Installing replacement windows in a protected building without the proper review can trigger a code enforcement action. This is not a permit issue; it is a separate preservation process. Homeowners in Russian Hill, Pacific Heights, and parts of the Mission should check their property’s planning code status before touching any exterior window or door.
Fourth, the multi-unit building complication. Condominiums and tenancy-in-common buildings in San Francisco have CC&Rs, which are covenants, conditions, and restrictions that govern what owners can change on the building exterior. Windows are often defined as common elements, meaning an individual unit owner cannot replace them without association approval. This is a legal constraint that sits on top of the building code. It makes DIY replacement legally complicated even before the first screw comes out.
Common Mistakes to Avoid
- Skipping the egress check on bedroom windows: installing a new window that does not meet California’s clear opening requirements creates a code violation that surfaces at resale. Measure the clear opening, not the rough opening, before ordering any bedroom window.
- Ignoring Title 24 for the specific window model: a window that is marketed as energy efficient is not necessarily compliant with California’s Climate Zone 3 requirements. Check the NFRC label against the 0.30 U-factor and the applicable SHGC before purchasing.
- Assuming like-for-like replacement never needs a permit: the moment the operation type changes, a double-hung becomes a casement, or the opening changes by even an inch, the permit requirement may activate. Verify with the San Francisco Department of Building Inspection before starting.
- Underestimating fog-belt moisture: sealing details that work in the Mission fail within two winters in the Sunset. Use marine-rated sealants and flashing. If you are unsure which products hold up in your specific San Francisco neighborhood, ask someone who installs windows in that neighborhood regularly.
- Leaving the flashing materials out of the DIY estimate: the window unit is often less than half the total project cost. Flashing, tools, disposal, and permit time close the gap between DIY and professional pricing more than most people expect.
- Buying windows online without local compliance documentation: a window purchased from an out-of-state retailer may arrive without California-compliant labeling. Without that documentation, the permit cannot be signed off, and the work remains unpermitted.
- Forgetting that windows in condos are often common elements: replacing a window in a San Francisco condominium without association approval can create a legal dispute that costs more than the window. Read the CC&Rs first.
See the difference
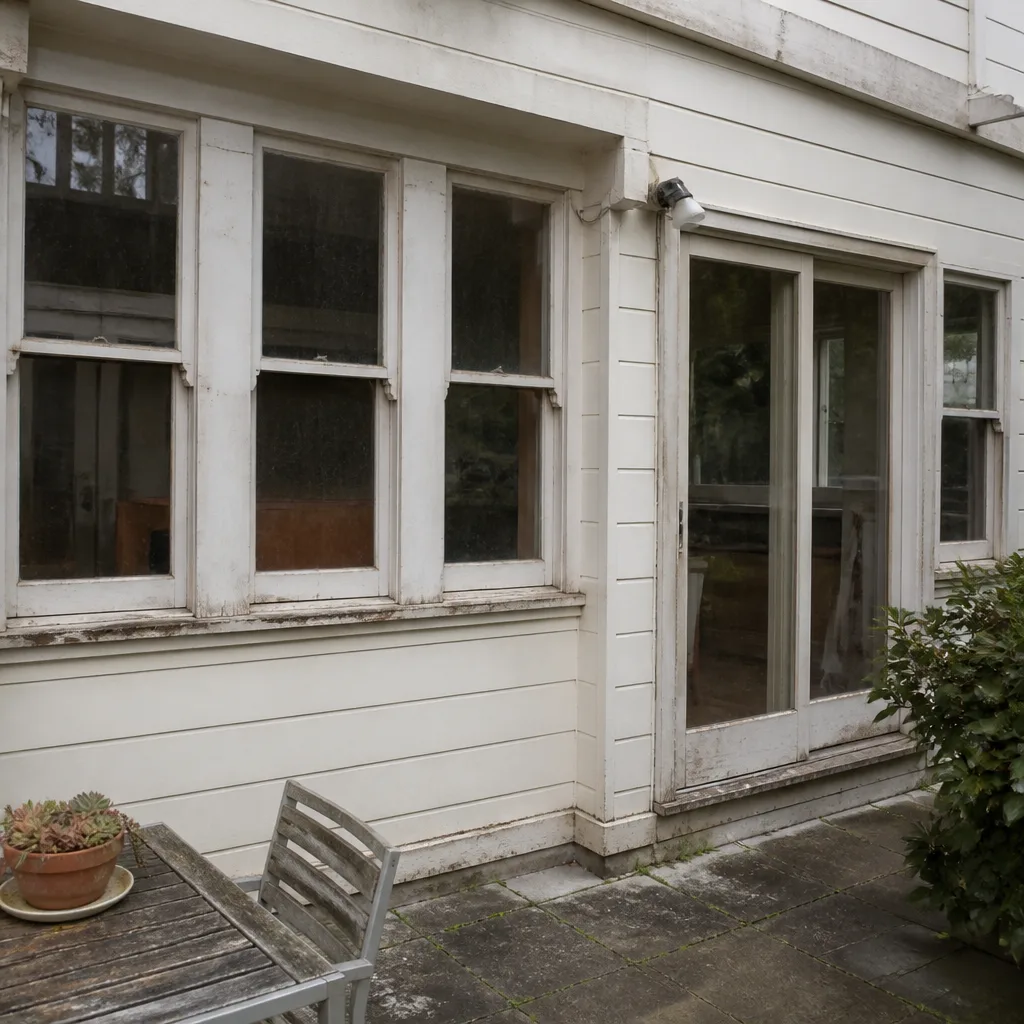 Before
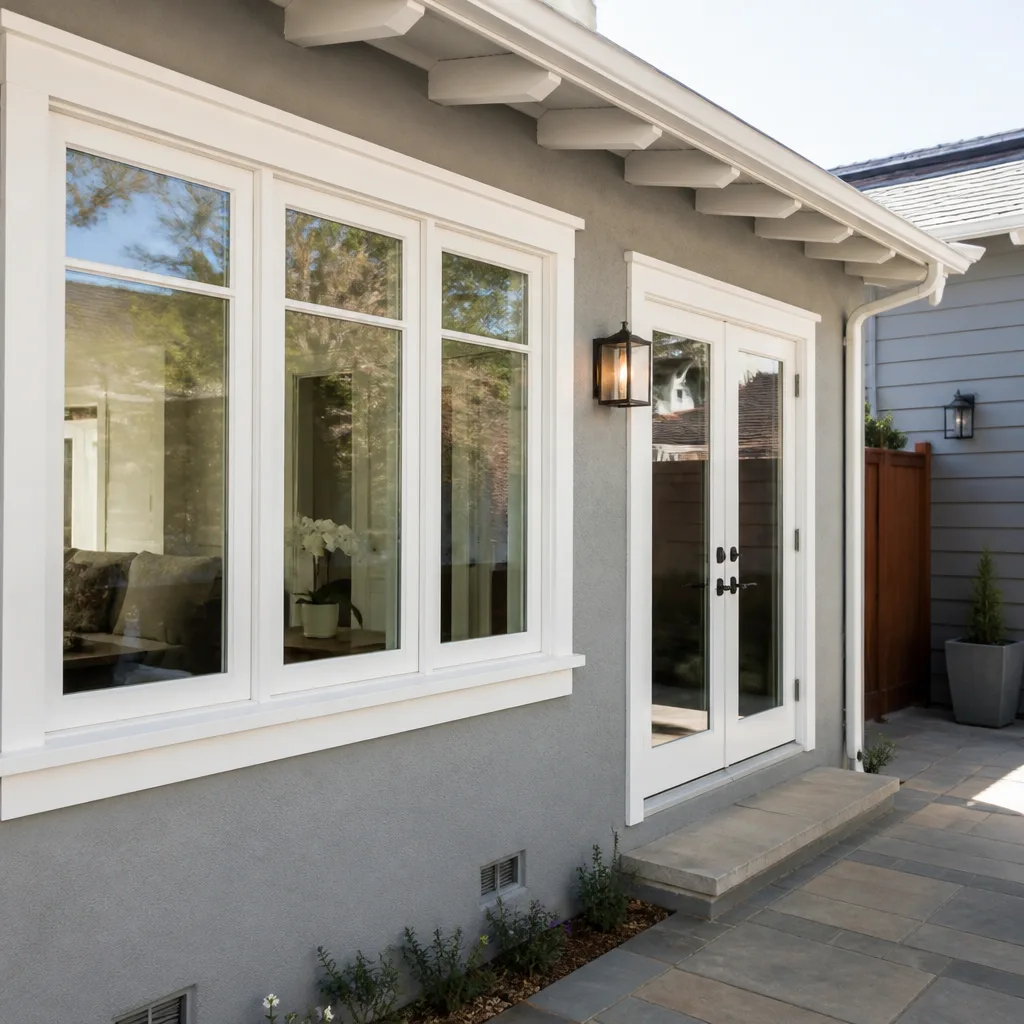 After
After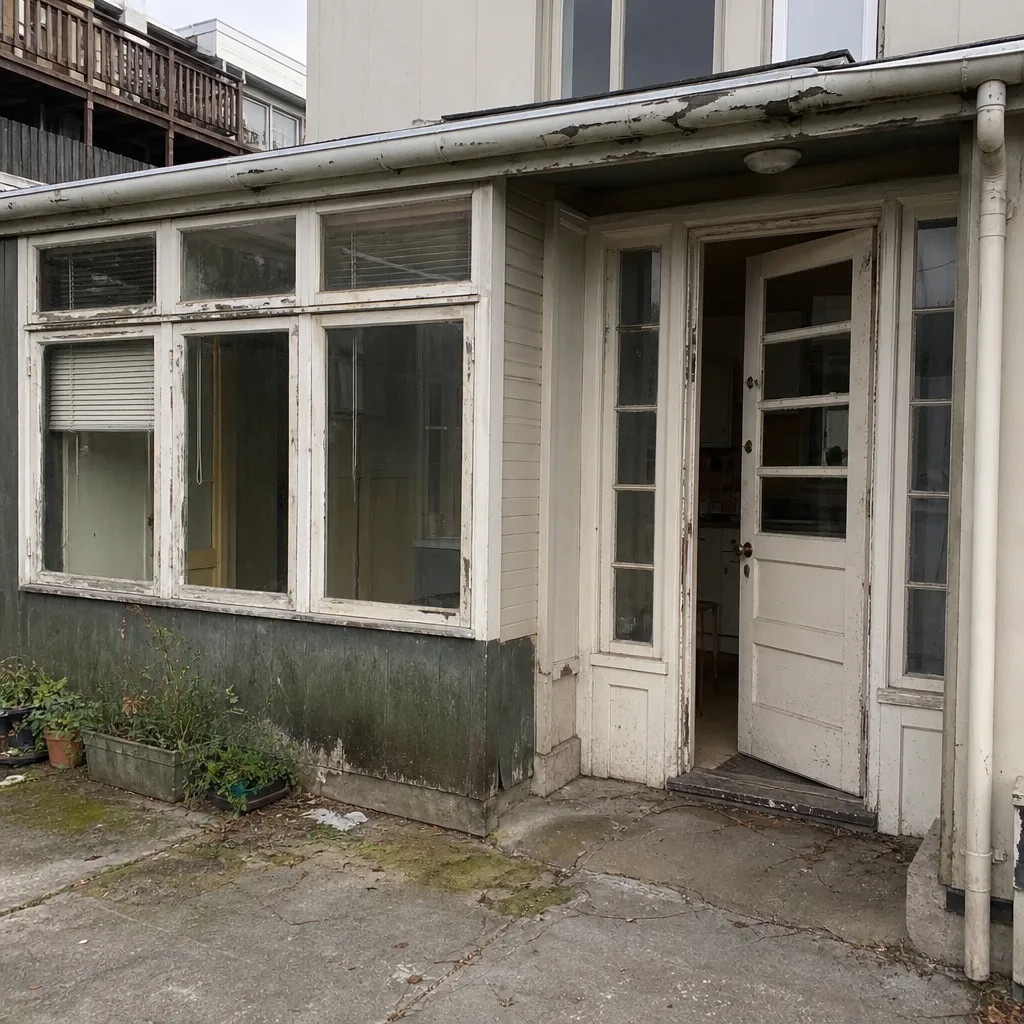 Before
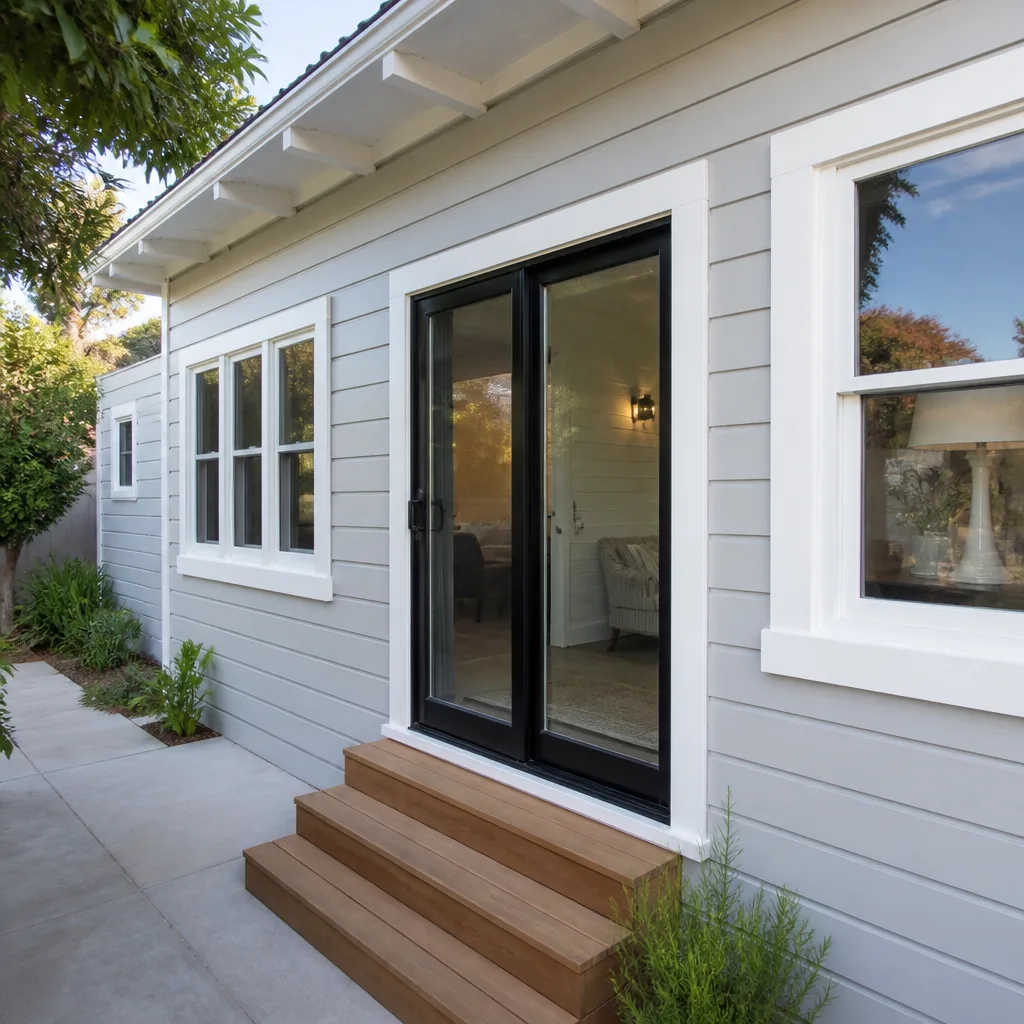 After
After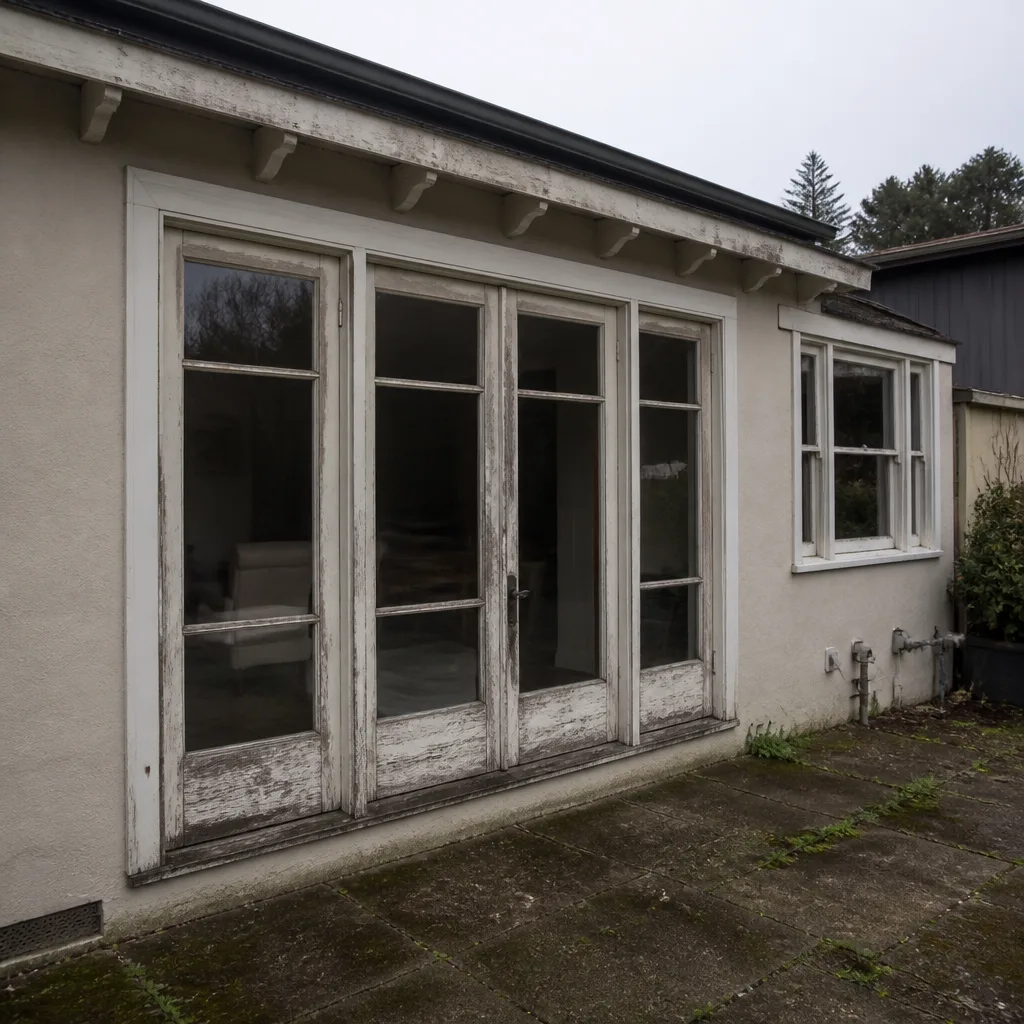 Before
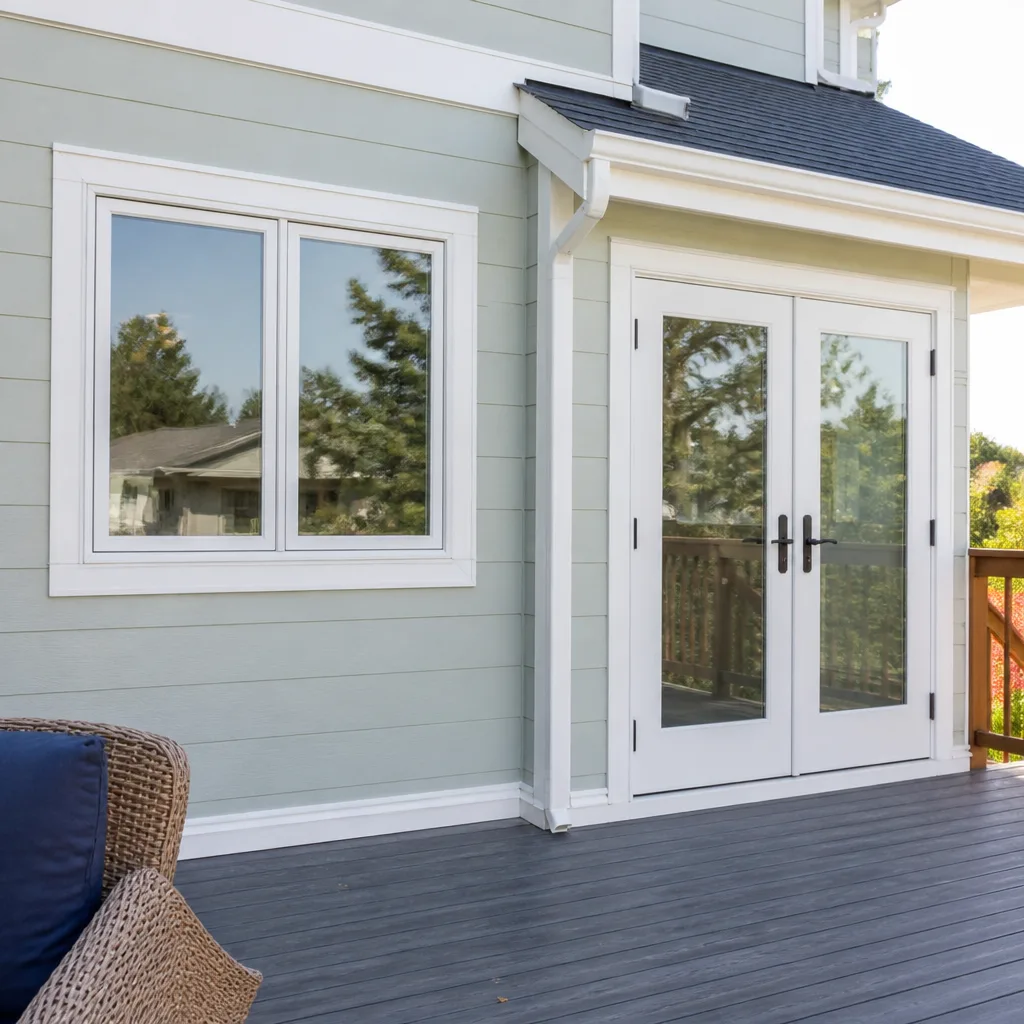 After
AfterWhen to Call a Professional
Call a professional when the project touches the building envelope, the rough opening, egress, Title 24 compliance, or a building subject to historic review. Call a professional when the home was built before 1940 and has original windows with lead paint. Call a professional when the project is in a fog-belt neighborhood where waterproofing details are unforgiving. Call a professional when you want the work permitted, documented, and warrantied so that future buyers can verify the job was done correctly. Lightwell Windows San Francisco offers free estimates in San Francisco. Call (831) 480-4124 and we will walk through the specific details of your home, your windows, and your doors before you spend a dollar.
If you are replacing an exterior door rather than a window, door installation in San Francisco carries similar permit, flashing, and threshold requirements. The same decision logic applies.
Frequently Asked Questions
A like-for-like window replacement on a single-family home in San Francisco often does not require a building permit. However, any change to the rough opening size, the window operation type, or a building subject to historic review or multi-unit rules will require a permit. Verify with the San Francisco Department of Building Inspection before starting, and remember that unpermitted work creates a disclosure obligation at resale. Call (831) 480-4124 if you want us to check the permit path for your specific project.
Professional window replacement in San Francisco typically runs between $800 and $2,200 per opening, depending on the window brand, glass package, frame material, and whether the project requires permit processing or historic review. This range includes the unit, labor, flashing, disposal, and the installer’s workmanship warranty. DIY material costs for the same window often run $300 to $900 per opening, but hidden costs for tools, flashing, disposal, and permit time shrink the gap significantly.
Windows in San Francisco condominiums and tenancy-in-common buildings are often classified as common elements under the CC&Rs, which means individual unit owners cannot replace them without association approval. Even if the building code allows owner-performed work, the CC&Rs may not. Read the governing documents before purchasing windows.
Title 24 is California’s energy code. For San Francisco, which sits in Climate Zone 3, replacement windows must meet a maximum U-factor of 0.30 and specific SHGC requirements that vary by window orientation. A window that fails Title 24 verification cannot close its permit, which leaves the work unpermitted for resale purposes. Check the NFRC label on any window before purchase.
An egress window must have a clear opening at least 20 inches wide, 24 inches high, and 5.7 square feet in area, with a sill no higher than 44 inches from the floor. The clear opening is measured on the installed window, not the rough opening. Changing a bedroom window from a double-hung to a casement can create an egress violation even when the rough opening does not change.
Yes. Lightwell Windows San Francisco provides free, written, line-item estimates for window replacement, window installation, and door installation. The estimate includes the unit cost, labor, flashing, permit fees where applicable, disposal, and warranty terms. Call (831) 480-4124 to schedule one. There is no obligation, and the written price is the price.
For a broader look at what the work involves, start at our Lightwell Windows San Francisco home page.
The Bottom Line
The DIY-versus-professional decision for windows and doors in San Francisco is less about your carpentry confidence and more about legal exposure. Like-for-like replacements on single-family homes can be DIY-eligible if you verify Title 24 compliance and egress. Everything else, meaning any change to the opening, the operation type, or a building under historic or association review, belongs in professional hands. The hidden costs of DIY, from flashing materials to disposal to permit time, close much of the savings gap. The risks that remain, unpermitted work at resale and invisible egress violations, are the expensive ones. Choose the work you can legally and safely do yourself. Hand the rest to someone who does it every day.
Written by Keith Yamada, Owner at Lightwell Windows San Francisco, serving San Francisco since 2010.
Six Reasons Homeowners Choose Lightwell Windows San Francisco
Laminated glass and reinforced frames hold up to wind-driven rain, hail and flying debris, so your openings stay sealed when the weather turns.
Low-E insulated impact glass from our manufacturer lines commonly cuts monthly cooling bills 20-30%.
Laminated impact glass shuts out up to 40% of outside noise - traffic, neighbors, weather.
Monitoring services run $30-90 a month. Laminated impact glass resists forced entry around the clock, with no subscription.
Tighter seals and insulated glass even out hot and cold rooms and stop the drafts at the frame.
A full impact package upgrades curb appeal, buyer confidence and appraised value in one project.