

Last updated October 17, 2026
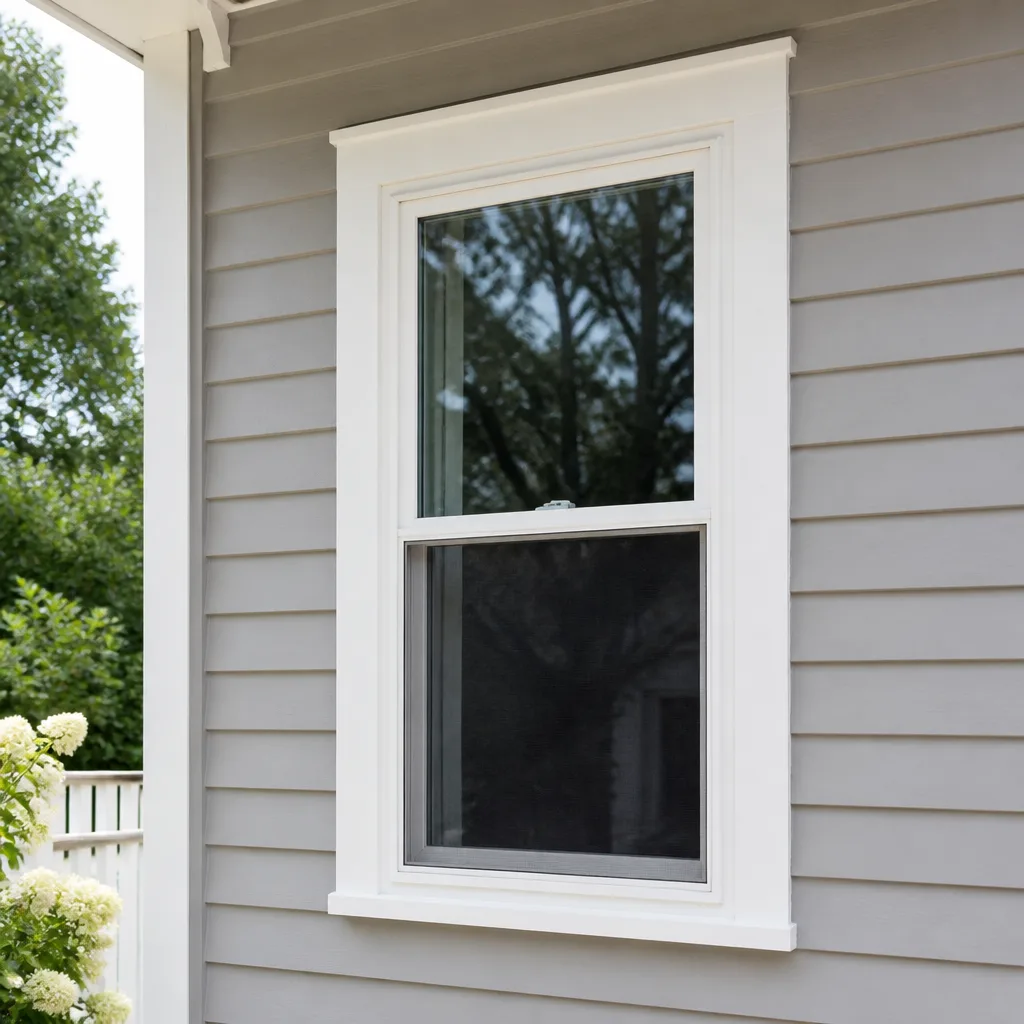 Single hung
 Double hung
 Horizontal roller
 Casement
 Bay & bow
 Sliding glass doors
 Entry doors
 Impact garage doors
 PGT
PGT CGI
CGIFree in-home measure and quote - PGT, CGI and CWS impact lines compared on your actual openings, style by style
Get your free estimateWindow Replacement Maintenance Checklist for San Francisco Homeowners
The first place a San Francisco window fails is almost never the glass. It’s the sill-to-siding junction, where condensation from coastal fog wicks into the framing cavity silently for months before any visible damage appears. By the time you see peeling paint or a soft sill, the repair has already moved from maintenance to replacement territory. This guide walks you through the actual deterioration sequence our fog-belt homes experience – not a generic pass/fail inventory, but the order problems actually appear. You’ll learn what to check in October before the wet season, what to re-check in March after it, when a foggy pane means replacement not cleaning, and how to document what you find so a contractor sees the full timeline, not just a snapshot.
Quick Answer
A San Francisco window maintenance checklist should follow the order moisture actually moves: check sill-to-siding junctions and flashing first, then weatherstripping at the corners, then interior condensation patterns, then hardware operation. Run this inspection twice a year – once in October before winter rains, once in March after they end – and keep a written record of what changes. Most window failures in San Francisco start at the seams and corners, not the glass itself, and catching them early usually means repair rather than full replacement.
Styles & brands we work with
Table of Contents
- The Fog-Season Inspection Protocol: October and March
- Sill-to-Siding Junction: The True First Failure Point
- Condensation: Normal vs. Failed Seal – How to Tell the Difference
- Weatherstripping: The Dollar Bill Test, Done Correctly
- Hardware and Operation: What a Stiff Crank Actually Means
- Flashing Inspection Without a Ladder: Inside-Out Cues
- Your Written Record Template: Why It Changes Your Estimate
- Common Mistakes to Avoid
- When to Call a Professional
The Fog-Season Inspection Protocol: October and March
San Francisco doesn’t have a true winter the way most of the country understands it. We have a wet season and a fog season, and they overlap in ways that punish windows differently than snow or extreme heat ever could. The moisture here arrives as a fine, persistent mist that sits against exterior surfaces for hours at a stretch – not as rain that falls and drains. That changes the inspection schedule.
Run this checklist twice a year, tied to the weather, not the calendar:
October Inspection (Before the Rains)
- Sill exteriors: Run your finger along the underside of each exterior sill. You’re feeling for crumbling caulk, lifted paint, or any give in the wood. The underside is where fog condensation collects and drips, and it’s the first place rot shows up.
- Sill-to-siding junction: Look for any hairline gap between window trim and the siding. In October, this gap is at its narrowest – summer heat has dried the wood. If you see a gap now, it will only widen when winter moisture swells the framing.
- Weatherstripping corners: Check the bottom corners of operable sashes. This is where 80% of air leaks actually live, and October is the time to catch them before you start paying to heat fog-damp air.
- Weep holes: On vinyl and aluminum frames, locate the small weep holes at the bottom of the exterior track. Clear them with a pipe cleaner or compressed air. Blocked weep holes are the single most common cause of interior water staining in San Francisco windows – not failed seals, not bad glass.
- Interior condensation history: Before you start running the heater, note where you saw condensation last winter. Those are the windows to watch first this season.
March Inspection (After the Rains)
- Recheck the sill-to-siding junction: Now that the wood has absorbed a season of moisture, look for new gaps, bubbling paint, or staining that wasn’t there in October.
- Interior walls below windows: Run your hand along the drywall beneath each window. You’re feeling for cool spots, soft spots, or any texture change that suggests water got behind the wall.
- Condensation patterns: With the heat running, note which windows show condensation and where – inside the glass, outside the glass, or on the interior frame. We’ll get into what each means below.
- Hardware operation: Open and close every window fully. March is when you’ll notice if a sash that was fine in October has started binding, which often means the frame absorbed moisture and swelled slightly.
- Document changes: Write down what changed between October and March. This is the record that tells a contractor whether the problem is active or stable.
In neighborhoods like the Sunset, Richmond, and Parkside, where fog sits for longer stretches than it does in the Mission or Noe Valley, we recommend running the October checklist twice – once in early October and again in late November. The added check catches the transition window when fog gives way to rain and the moisture load on your windows changes character.
Sill-to-Siding Junction: The True First Failure Point
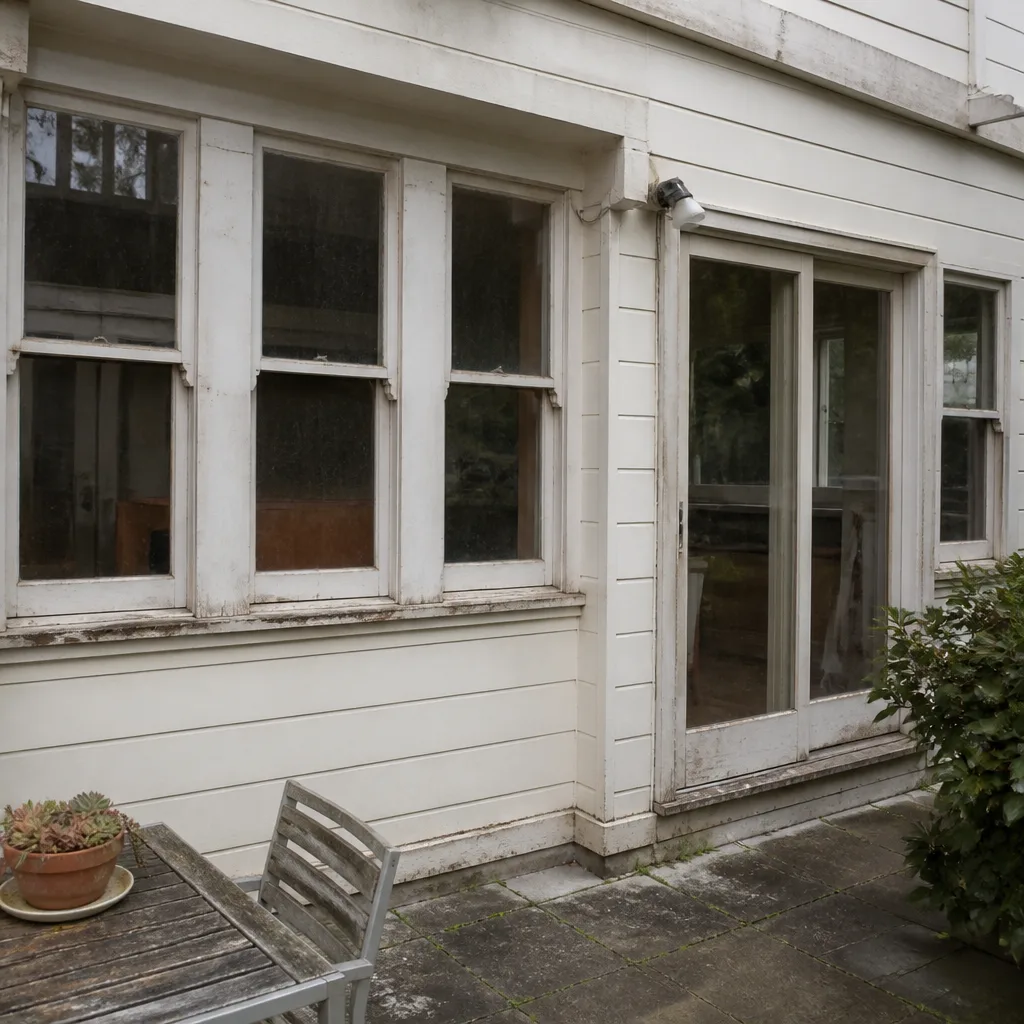
The window industry talks a lot about glass coatings, argon fills, and U-factors. None of that matters if water is getting into the wall around the window. In San Francisco, the sill-to-siding junction is where that happens first. Here’s the sequence we see repeatedly in San Francisco homes, especially in the fog-belt neighborhoods west of Twin Peaks:
- Months 1 – 6: Condensation and fog mist settle on the sill exterior. The caulk line at the sill-to-siding junction absorbs moisture through tiny cracks too small to see.
- Months 6 – 18: The caulk pulls away from the siding in hairline separations. Water now moves behind the caulk, not through it. The wood beneath stays damp for weeks at a time.
- Months 18 – 36: The framing cavity behind the sill develops rot. You may see no visible change from inside the home. If you press a screwdriver gently against the underside of the exterior sill and it sinks, the rot is already there.
- Months 36+: Interior signs appear: soft drywall below the window, a musty smell in the room, peeling paint at the baseboard. By this point, the repair usually requires removing the window, cutting out rotted framing, and rebuilding the rough opening – a full replacement, not a maintenance fix.
The frustrating part is that the earliest stages are invisible from inside the room. That’s why the October and March checks matter. You’re looking for the outside cues before the inside ones show up.
When we replace windows in San Francisco, the sill-to-siding junction is the first thing our crew examines during the estimate. If the jamb is soft or the flashing is failing, a new window won’t fix the underlying problem – the leak will just move around the new frame. This is also why our Window Replacement in San Francisco service starts with a full opening inspection before we talk products. The window brand matters, but only after the opening is sound.
Condensation: Normal vs. Failed Seal – How to Tell the Difference
Not all foggy windows need replacement. In fact, most condensation calls we get from San Francisco homeowners turn out to be normal exterior condensation with no repair needed at all. The distinction comes down to which surface of the glass the moisture is on, and whether it clears as the day warms.
Here’s the direct breakdown:
- Exterior surface condensation, clears by midday: Normal. This happens when warm interior air meets cool exterior glass, or on cool mornings when the glass surface dips below the dew point. In San Francisco, you’ll see this most often on east-facing windows in the spring and fall, when overnight fog gives way to morning sun. No action needed. Clean the glass if it leaves water spots.
- Interior surface condensation on the room side: This means your indoor humidity is too high relative to the glass temperature, or the window’s interior surface is too cold. In San Francisco, where most homes lack central air and run steam radiators or baseboard heat, this is common. It’s not a window failure – it’s a ventilation and humidity issue. Run a dehumidifier, crack a window in the kitchen, or improve bathroom exhaust.
- Condensation between the panes of a double- or triple-pane unit: This is the one that signals a failed insulated glass unit (IGU). The desiccant inside the spacer has been exhausted, the seal has failed, and moisture is now inside the sealed air space. It will never clear, regardless of weather or humidity. The fog may come and go depending on temperature, but the seal is dead. This is a replacement situation – either the glass unit alone (if the frame is sound) or the full window (if the frame has age-related issues).
A simple way to identify where the condensation is: hold a flashlight at an angle to the glass. If the fog is on the surface you can touch from inside the room, it’s interior. If it sits behind the first pane, unreachable, it’s between the panes. If it’s outside and you can wipe it with a cloth from outside, it’s exterior.
One more San Francisco-specific note: homes in the Sunset and Parkside that run gas wall heaters without a vent are generating large amounts of interior moisture all winter. If every window in the house shows interior condensation, the heat source is the problem, not the windows. If one window fogs between the panes while the rest are clear, that solitary unit has a failed seal and needs glass replacement.
We carry manufacturer brands including ViewLux and PGT specifically because their insulated glass units hold up in coastal fog environments. The argon fill and spacer system matters more in San Francisco than in, say, Fresno – the constant moisture cycling puts more stress on seals than dry heat ever will.
Weatherstripping: The Dollar Bill Test, Done Correctly
The dollar bill weatherstripping test is common advice, but most people do it wrong. The usual method is to close the window on a dollar bill and pull. If it slides out easily, you need new weatherstripping. That tells you something about the middle of the sash – and almost nothing about the corners, where the actual leaks are.
Here’s the correct method:
- Cut or tear the dollar bill in half. You need two pieces, each about 3 inches long. Using the full bill misses the point – you’re testing edge contact, not the middle.
- Place one half at the bottom corner of the sash, where the horizontal and vertical weatherstripping meet. Close and latch the window normally.
- Pull the bill half toward you. It should drag with noticeable resistance. If it slides out without resistance, that corner has an air gap.
- Move to the opposite bottom corner and repeat. Then test both top corners the same way. Finally, test one point in the middle of each side.
- Record which corners fail. A window that passes at the middle but fails at two corners is leaking air – and in San Francisco, fog-damp air – even if you can’t feel a draft standing still.
The reason corners matter so much: weatherstripping is cut to length and butted at the corners. Over time, the material shrinks, and the butt joints open up. The gaps form at the corners first, not along the straight runs. The standard dollar bill test only checks straight runs, so it reports a false pass on a window that’s actually leaking at all four corners.
Air leaks in San Francisco carry moisture, not just temperature. A window that leaks air at the corners during fog season is pulling damp air into the wall cavity around the window. Over a few seasons, that moisture does exactly what the sill-to-siding leak does – it feeds rot in the framing. Fix corner weatherstripping gaps when you find them. The material is inexpensive; the framing repair is not.
When you’re looking at air leaks, it’s worth understanding how Window Installation in San Francisco differs from replacement. Installation of a properly sealed new unit involves more than setting a window in a hole – the corner seals, the flashing tape, and the jambs all have to be done in the right order or you’ll just recreate the leak in a prettier package.
Hardware and Operation: What a Stiff Crank Actually Means
A window that’s hard to open is giving you information. Most homeowners force it, get it open, and don’t think about it again until the crank snaps off or the sash won’t close at all. But the stiffness is a signal – and in San Francisco, it usually points to one of three things.
Swell and bind: Wood frames absorb moisture from fog and rain, swell slightly, and bind against the sash. This is most common on older wood windows in the Richmond and Sunset districts, where fog exposure is highest. The window will get easier to operate as the wood dries out in late spring, then tighten again the next winter. If it cycles like this, the wood is moving – and repeated movement eventually loosens the joints and opens gaps for water entry.
Hardware wear, not wood movement: Casement cranks and awning operators have gear mechanisms that wear over time. If the crank turns but the sash doesn’t move smoothly, or you hear a grinding or popping sound during operation, the operator mechanism is failing. This is a hardware repair, separate from the window itself.
Track and roller buildup: Slider windows and patio doors accumulate dust, salt, and fog residue in their tracks. The buildup acts like sandpaper on the rollers, causing stiffness and scoring. Clean tracks with a dry brush and vacuum, then wipe with a damp cloth. Lubricate the rollers with a silicone spray – never oil, which attracts more dust.
Operation check: open each window fully and close it fully, once in October and once in March. Note any window that requires more force than the others. Note any that don’t close squarely, leaving a gap at one corner. Note any that won’t stay open without propping. These are your early-warning list, and they’re the first items we ask about during a window replacement estimate because they tell us where the frame stresses are.
Flashing Inspection Without a Ladder: Inside-Out Cues
Flashing is the metal or tape layer that directs water away from the window opening. It sits hidden behind the siding and trim, so you can’t inspect it directly without removing siding. But you can read the signs from inside the room. Here’s what to look for:
- Staining on the interior wall below the window, wider than the window itself. Water running down the flashing and into the wall usually shows up as a broad stain, not a narrow one.
- Soft drywall or plaster below the sill, especially in the corners. Press gently with a thumb. If it gives more than the surrounding wall, moisture has been entering.
- Efflorescence on interior masonry if you have a stucco or masonry exterior: a white, chalky residue that means water is moving through the wall and leaving mineral deposits behind.
- Paint bubbling or peeling specifically below the window, not elsewhere in the room. This is a tell-tale of water infiltrating from above and working its way down.
- A persistent musty or damp smell in the room, stronger near the window. Rotting wood has a distinct smell, and it often takes months before you see any visual evidence.
If you see any of these, the flashing or the sill-to-siding seal has probably failed. The good news: you don’t need to climb a ladder to confirm what’s happening. The bad news: this is usually beyond a DIY fix. Failed flashing requires removing the exterior siding around the window, replacing the flashing or tape, and re-sealing the entire perimeter. It’s most commonly done as part of a full window replacement, since the window has to come out anyway to get proper access.
This is another area where the Lightwell Windows San Francisco home inspection process differs from a bid-and-swap approach. Before we quote a window, we look at the sill, the flashing condition, and the interior wall below the window. If the flashing is failing, a new window set into the same opening without addressing the flashing will leak again within a few years. You’d be paying for the same repair twice.
Your Written Record Template: Why It Changes Your Estimate
Most homeowners call a contractor when they notice a problem and get an estimate based on what the contractor sees that day. The problem: water damage is progressive, and a single snapshot doesn’t show whether the damage is active, stable, or accelerating. A written record changes that.
Keep a simple log for each window. After each October and March inspection, record:
- Window location (room, wall, direction it faces)
- Date of inspection
- Condensation note: Which surface, when it appeared, when it cleared (or whether it never did)
- Weatherstripping corner test result: Which corners passed, which failed
- Hardware note: Any stiffness, grinding, or change in operation compared to last check
- Interior wall condition below the window: Any new staining, softness, or odor
- Exterior sill condition: What you can see from inside or ground level – peeling paint, visible gaps, caulk condition
A simple notebook page or a notes app entry per window, twice a year. It takes ten minutes per inspection and gives any contractor a deterioration timeline instead of a mystery.
Why the timeline changes the estimate
If you call us and say “the wall below my living room window feels soft,” we see a point-in-time problem. We have to assume it’s active, which means we quote for the full scope: replacement, possible framing repair, possible flashing replacement.
If you can show us a record that says “the sill-to-siding gap appeared in March 2023 and has not grown since; no interior staining as of March 2025; weatherstripping corners failed in October 2024 and were repaired,” that tells a different story. The damage may be stable. The scope narrows. The estimate comes in lower, and more precise. Your record is a negotiating document, not just a memory aid.
Keith Yamada, who runs Lightwell Windows San Francisco, reviews these records with homeowners during estimates. The more history you have, the more accurately he can scope the work. And since every estimate comes with a written price before any work starts, that accuracy shows up directly in the number.
We also recommend documenting with photos. A phone photo of the exterior sill, taken from inside the room through the open window or from ground level, takes seconds. Six months later, you can compare and see whether a gap widened or paint lifted. Your camera roll becomes a maintenance log.
When you’re ready to think about replacement rather than maintenance, having this record means your window installation quote is based on evidence, not guesswork. It also means the crew knows which openings have had water history and can prep accordingly.
Common Mistakes to Avoid
- Waiting until you see interior damage to call someone. By the time drywall stains or soft spots appear inside, the water has been working on the framing for months or years. The October and March checks exist to catch problems before this point.
- Using oil-based lubricants on window tracks. Oil attracts dust, salt, and fog residue, which turns into a gritty paste that scores rollers and tracks. Use silicone spray or dry film lubricant only.
- Assuming every foggy window is a failed seal. Most condensation calls from San Francisco are normal exterior or interior surface moisture. Confirm which surface the fog is on before spending money on replacement.
- Testing weatherstripping only at the middle of the sash. The corners tell you what you need to know. A window that passes the middle test can still be leaking at all four corners.
- Painting over a sill-to-siding gap instead of fixing it. Paint seals nothing. It hides the gap for a month or two until the moisture works through, and by then the rot has had more time to spread.
- Replacing the window without addressing the flashing. If water is entering at the flashing level, a new window won’t stop it. The leak is in the opening, not the window.
- Ignoring blocked weep holes. In vinyl and aluminum frames, weep holes are the drainage path for any water that enters the track. When they clog, water backs up and spills into the wall. Cleaning them is a five-minute job that prevents thousands in damage.
When to Call a Professional
Some findings on this checklist point to a quick fix you can handle: cleaning weep holes, lubricating tracks, noting condensation patterns. Other findings mean it’s time to pick up the phone. Call a professional if you find condensation between panes that never clears; soft or staining drywall below a window; a sill that gives when pressed; a gap at the sill-to-siding junction that has widened between inspections; or a window that won’t close squarely anymore. These are signs the window has moved from maintenance to replacement, and continuing to patch them just buys time while the damage grows.
Lightwell Windows San Francisco offers free estimates across San Francisco, and a live person answers the phone at (831) 480-4124. We’ll walk the checklist with you, look at the windows that concern you, and give you a written price before any work starts. No pressure, no guesswork.
See the difference
 Before
 After
After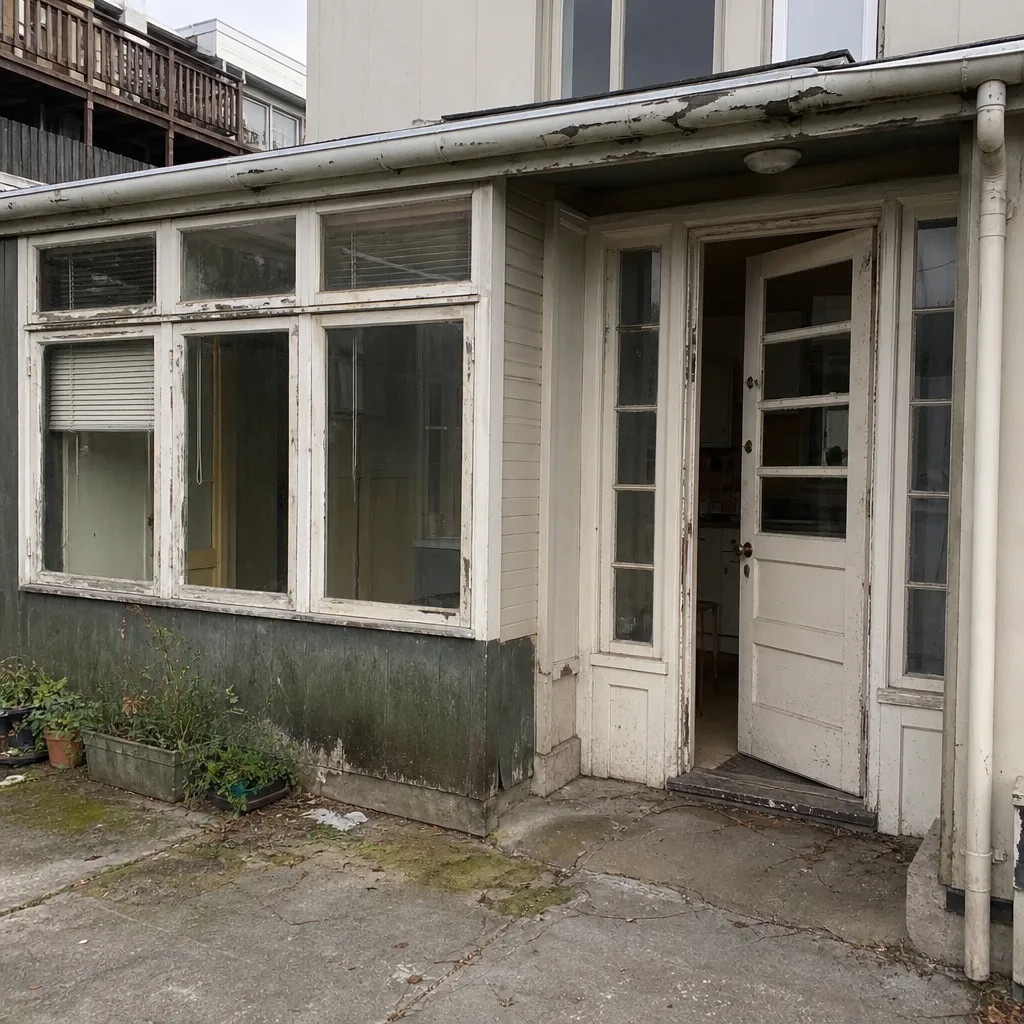 Before
 After
After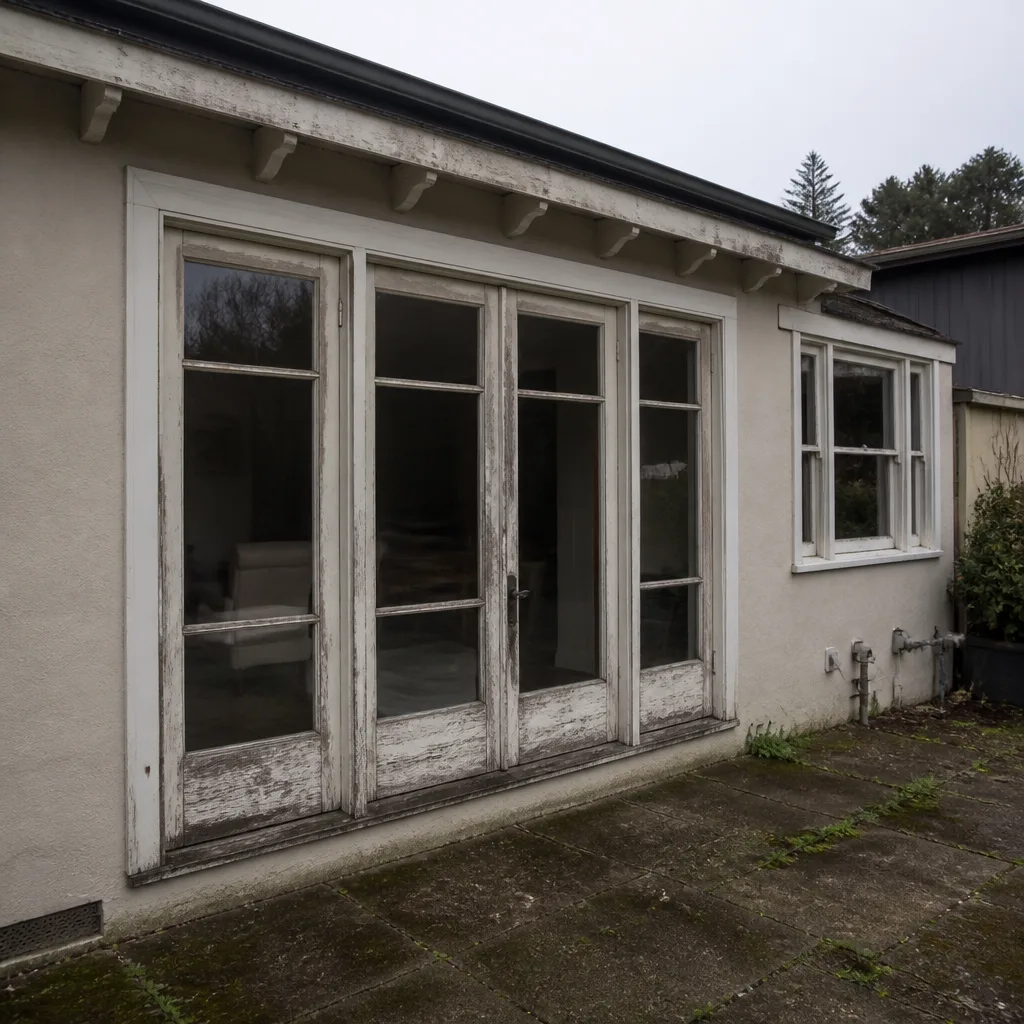 Before
 After
AfterFrequently Asked Questions
Twice a year: once in October before the wet season begins, and once in March after it ends. The October check prepares your windows for the highest moisture load of the year. The March check reveals what the moisture did. Homes in the Sunset, Richmond, and Parkside neighborhoods, where fog sits longest, benefit from a third check in late November.
Most window replacements in San Francisco run between $900 and $2,500 per opening, depending on window type, frame material, brand, and whether the opening needs framing or flashing repair. Windows that require stucco or siding work around the opening fall at the higher end. Every Lightwell estimate includes a written price before work starts, so there’s no surprise at the end. Call (831) 480-4124 for an exact quote.
Fog between the panes of a double-pane window means the insulated glass unit (IGU) seal has failed. There is no repair that restores a failed seal. The glass unit must be replaced. If the frame is in good condition, you can replace the glass unit alone. If the frame has age, rot, or hardware issues, full window replacement is the right call.
Not by itself. Interior surface condensation means indoor humidity is high relative to the glass temperature. In San Francisco, where many homes use unvented gas heaters and lack central air, this is common. Fix ventilation and humidity first. If condensation is between the panes, that’s a failed seal and does require replacement.
Fog. San Francisco’s coastal fog delivers moisture as a fine mist that settles on surfaces and lingers for hours. It wicks into tiny gaps at the sill-to-siding junction and weatherstripping corners, keeping the framing damp for weeks at a time. This constant low-grade moisture does more damage to window openings here than in many rainier climates, because the water never fully dries between deliveries.
Permit requirements for window replacement in San Francisco depend on the scope of work. Like-for-like replacement without structural changes typically doesn’t require a permit. Changes to opening size, structural repairs, or work in historic districts may. We’ll tell you honestly what your project requires during the estimate, and if a permit is needed, it’s handled as part of the job.
The Bottom Line
A window in San Francisco fails from the outside in, starting at the sill-to-siding junction and the weatherstripping corners, not the glass. Track it twice a year – October and March – and write down what you find. When condensation appears, identify which surface it’s on before spending money. Test weatherstripping at the corners, not the middle. Keep weep holes clear. And when you call a contractor, bring your written record – it turns a guess into a precise scope, and a precise scope into a precise price.
If your checklist turns up signs that go beyond maintenance, we’re here. Door Installation in San Francisco and window replacement both start with the same careful inspection process, and the estimate is always free, always written, and always before any work begins. Call (831) 480-4124 and we’ll walk through what you’re seeing.
Written by Keith Yamada, Owner at Lightwell Windows San Francisco, serving San Francisco since 2010.
Six Reasons Homeowners Choose Lightwell Windows San Francisco
Laminated glass and reinforced frames hold up to wind-driven rain, hail and flying debris, so your openings stay sealed when the weather turns.
Low-E insulated impact glass from our manufacturer lines commonly cuts monthly cooling bills 20-30%.
Laminated impact glass shuts out up to 40% of outside noise - traffic, neighbors, weather.
Monitoring services run $30-90 a month. Laminated impact glass resists forced entry around the clock, with no subscription.
Tighter seals and insulated glass even out hot and cold rooms and stop the drafts at the frame.
A full impact package upgrades curb appeal, buyer confidence and appraised value in one project.